 Zombie Love AI
How to Make Zombie Couple Videos from Two Photos
Prepare two adult photo references, choose who turns, select a short scene, check credits, and review your zombie couple video. Includes a text-only alternative.
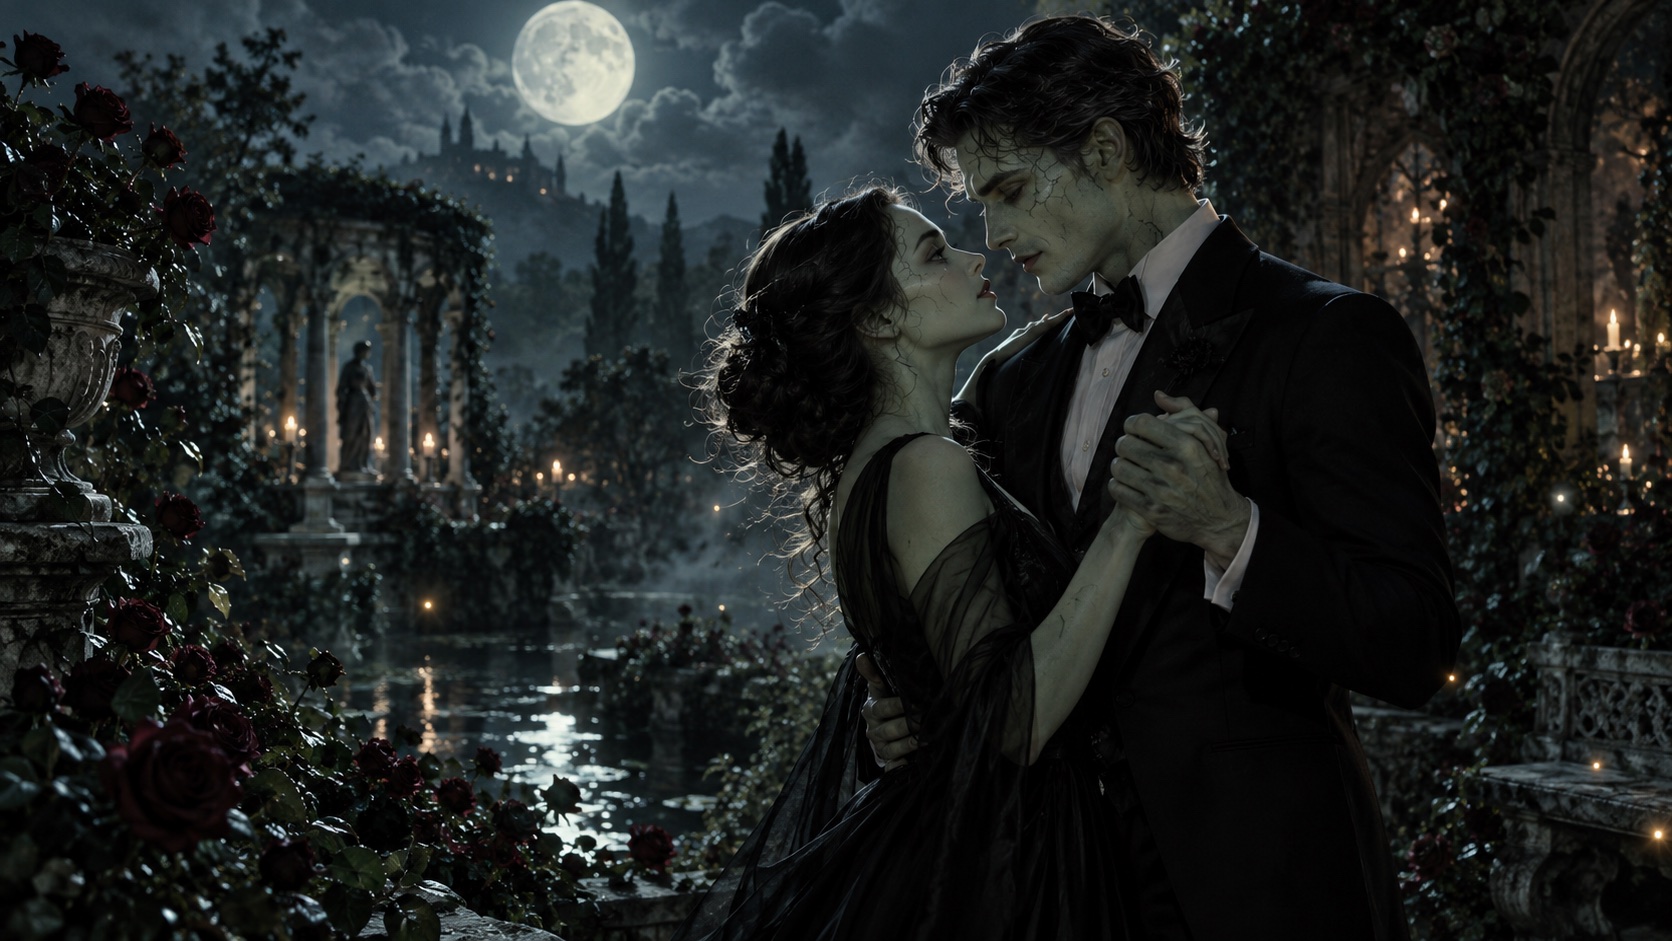
The default Zombie Couple Video AI workflow starts with two authorized adult portraits, a choice of who becomes the zombie, and a short scene template. The template provides the story direction. You can add details through the advanced prompt, or switch to text-only mode to design fictional characters without photos.
The current output is a 5-second scene, so plan one small action in one place. This is not a promise of an entire encounter, transformation, embrace, and flashback. Reference photos are subject to the model's checks; faces, hands, clothing, and motion can vary. The illustrations on this website are concept stills, not recorded examples of your generated result.
1. Get your account and credits ready
Open pricing, select a one-time credit pack, and create an account or log in. Your selected pack stays selected through that account step. When purchasing is available, review the pack and explicitly continue to checkout.
After payment is confirmed and credits are added, open the studio. Returning from payment does not automatically start a generation. If you already have enough credits, you can go straight to the studio.
A displayed pack does not mean checkout is enabled. Follow the current availability notice. If a payment is still being confirmed, check your purchase history before paying again.
2. Prepare one photo for each adult
Choose two separate, clear portraits, with one adult in each photo. Use photos you have the right to use and obtain both people's agreement to use their likenesses in an AI-generated fictional scene.
A useful starting photo has an unobstructed face, even light, and enough room around the head and shoulders. Avoid a group photo, a heavily blurred image, or a face hidden by a hand or sunglasses. Follow the file requirements shown in the studio; the browser prepares the photos for submission as JPEG references.
Selected photos are kept temporarily in the current browser tab's memory. They are not saved in browser persistent storage. Reloading the page or closing the tab can mean selecting them again, so finish account and credit steps before preparing your photos when possible.
3. Choose who turns and a short scene
Use the role selector to choose who appears as the zombie. Keep the people and roles consistent while adjusting the scene. The model receives reference images and instructions; the role selector is a creative direction, not a guarantee of the final appearance.
Pick a scene template with one readable action. A shared glance, an offered hand, or a gentle sway gives a 5-second shot a clear focus. A stable medium two-shot can help keep both people in view. Keep the styling non-graphic.
Template artwork communicates the mood. It does not show a tested result from your photos or promise that the video will match the picture.
4. Add optional prompt details
You do not need to write the whole story yourself. Keep the template direction or use the advanced prompt to adjust a setting, mood, or small movement. Avoid contradicting the chosen roles or asking for several locations and time changes.
For example, a simple additional direction is:
Soft moonlight in a quiet garden. The two characters stay a small step apart and gently reach toward each other. Keep both faces visible in a stable medium two-shot. One continuous shot, no scene change, no text.
The prompt collection gives six short scene ideas and ways to simplify a difficult action.
Prefer to start without photos?
Switch to text-only mode and describe two original fictional adult characters, one action, one setting, and a camera direction. No reference photos are sent in that mode. You can use the full text examples in the prompt collection as starting points; a text description does not reproduce a real person's face.
5. Confirm settings and generate
Check the resolution, format, credit cost, and service availability before submitting. Current clips are 5 seconds. The studio defaults to 720p; 480p costs 20 credits, 720p costs 45, and 1080p costs 80. The amount shown for your selected configuration is the one to check before each task.
When you click Generate in photo mode, the site forwards the two prepared photos, scene prompt, and settings to Replicate. The site does not save the photo contents in its task database or publish them in a public gallery. Provider processing and retention are separate; see the Privacy Policy.
Submit once and follow the task in your account. Generation time depends on the provider, and reference images may be rejected by the model's checks. A queued or processing task is still in progress; check it before submitting the same scene again. Failed tasks return their reserved credits. A completed video you do not like is not automatically a failed task.
6. Review and save the result
Watch the entire clip before sharing it:
- Are both people present, with the intended healthy and zombie roles?
- Do faces, hands, and clothing remain plausible?
- Does the action fit the intended mood?
- Are there unwanted people, text, logos, or visual artifacts?
- Is the result appropriate for the audience and the permissions you obtained?
Download a result you want to keep promptly. Provider links can expire; the site is not a permanent video archive. If you need captions, a longer sequence, or additional music, use a separate editor and confirm rights to the material you add.
When the result misses the idea
Change one detail at a time. If faces drift, reduce head movement. If bodies merge, separate the people and replace a hug with a glance. If one person leaves the frame, ask for a fixed medium two-shot. These are suggestions, not guaranteed fixes; each new generation uses the displayed credit amount.
For an error or an unexpected credit entry, keep the task ID and contact support. Do not send your password or API credentials.
Common questions
Can I upload one photo showing both of us?
The photo workflow asks for two separate references, one adult per slot. Prepare a clear individual portrait for each person. Do not assume a single group image will fill both roles.
Will the generated faces look exactly like us?
No exact match is promised. Photos guide the request, but likeness, clothing, body positions, and movement can change. Reference photos are also subject to the model's checks.
Do I need to write a prompt?
A scene template supplies the initial direction. Advanced prompt details are optional. Text-only mode needs a written description, which you can start from a template or the prompt guide.
Can I make the whole viral reunion story in one video?
This tool currently requests one 5-second scene. Choose one meaningful moment. Several independently generated clips can be assembled later, but character continuity and exact transitions across clips are not guaranteed.
Is every output cleared for commercial use?
No. Check the applicable model terms and rights to the photos, likenesses, characters, brands, and later additions. The tool does not certify ownership or clear third-party rights.
Choose your credits, explore scene templates, or open the studio if your account is ready.